How To Grow Chives in Your Garden
Chives, with their mild onion flavor and vibrant green stalks, are a delightful herb to grow in your garden. Whether you're an experienced gardener or a beginner, cultivating chives can be a rewarding experience. In this guide, we'll explore the step-by-step process of how to grow chives and harvest those flavorful greens.
Growing Garden Freshness: A Guide to Cultivating Chives
Choosing Chive Varieties:
Chives belong to the Allium family, and the most common variety is Allium schoenoprasum. This variety produces slender, hollow leaves with a mild onion flavor. Consider your preferences and growing conditions when selecting chive varieties.
Planting Chives:
Tip: Proper planting is essential for robust chive plants.
1. Timing: Chives can be planted in early spring or fall. If starting from seeds, sow them directly in well-draining soil. If using transplants, plant them after the last frost.
2. Soil Preparation: Chives prefer well-draining, fertile soil. Amend the soil with compost and ensure a slightly acidic to neutral pH (6.0-7.0).
3. Spacing: Plant chive seeds or transplants about 6-8 inches apart. Chives will form clumps as they grow, so provide enough space for expansion.
4. Sunlight: Chives thrive in full sun but can tolerate partial shade. Ensure the chosen location receives at least 4-6 hours of sunlight per day.
Care and Maintenance:
Tip: Regular care practices contribute to healthy chive plants and a bountiful harvest.
1. Watering: Chives prefer consistently moist soil. Water the plants deeply when the soil is dry to the touch. Avoid overwatering, as chives don't tolerate waterlogged conditions.
2. Fertilization: Chives are not heavy feeders. A balanced, all-purpose fertilizer applied at planting time is usually sufficient. If the soil is rich, additional fertilization may not be necessary.
3. Mulching: Apply a thin layer of mulch around chive plants to retain soil moisture, regulate soil temperature, and suppress weeds.
Harvesting Chives:
Tip: Harvesting chives at the right time ensures optimal flavor and continuous growth.
1. Leaf Harvest: Chive leaves can be harvested once the plants are established and have reached a height of 6-8 inches. Use clean scissors or garden shears to cut the leaves, leaving about 2 inches above the soil.
2. Cutting Technique: When harvesting chives, cut the leaves near the base. Avoid cutting too close to the ground to allow for regrowth.
3. Harvesting Period: Chives are a cut-and-come-again herb. Harvest regularly throughout the growing season. Regular harvesting encourages new growth and prevents the plants from becoming too leggy.
Storage and Preservation:
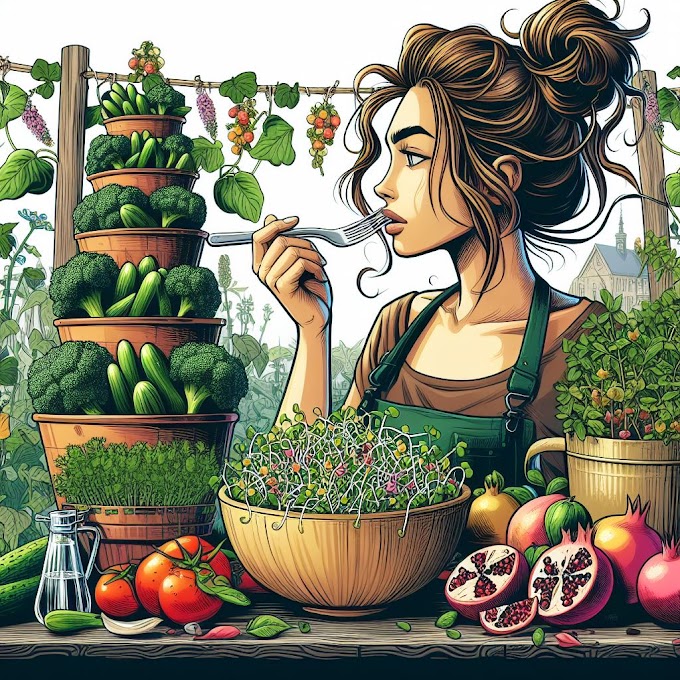
1. Fresh Use: Use freshly harvested chives immediately for the best flavor. Add them to salads, soups, omelets, or as a garnish for various dishes.
2. Freezing: Chives can be frozen for longer-term storage. Chop the leaves and freeze them in small portions in ice cube trays with water. Once frozen, transfer the cubes to a freezer bag.
Common Chive Issues and Solutions:
1. Yellowing Leaves: Yellowing may indicate nutrient deficiencies or overwatering. Ensure proper fertilization and avoid excessive watering.
2. Pests: Chives are generally resistant to pests. However, aphids or onion thrips can sometimes be a concern. Use insecticidal soap or neem oil for natural control.
Growing chives brings garden-fresh flavor to your table, offering a versatile herb for various culinary uses. With attention to planting, care, and harvesting techniques, you can enjoy the rewards of cultivating your own chives at home.